Welcome to the Zeta Display Scheduling guide. The following instructions will walk you through creating campaigns, uploading media, and viewing your network in real time.
You will be brought to this page after logging in. Click the three lines on the left side to display the sidebar
Dashboard:
Player status, campaign statistics listed here.
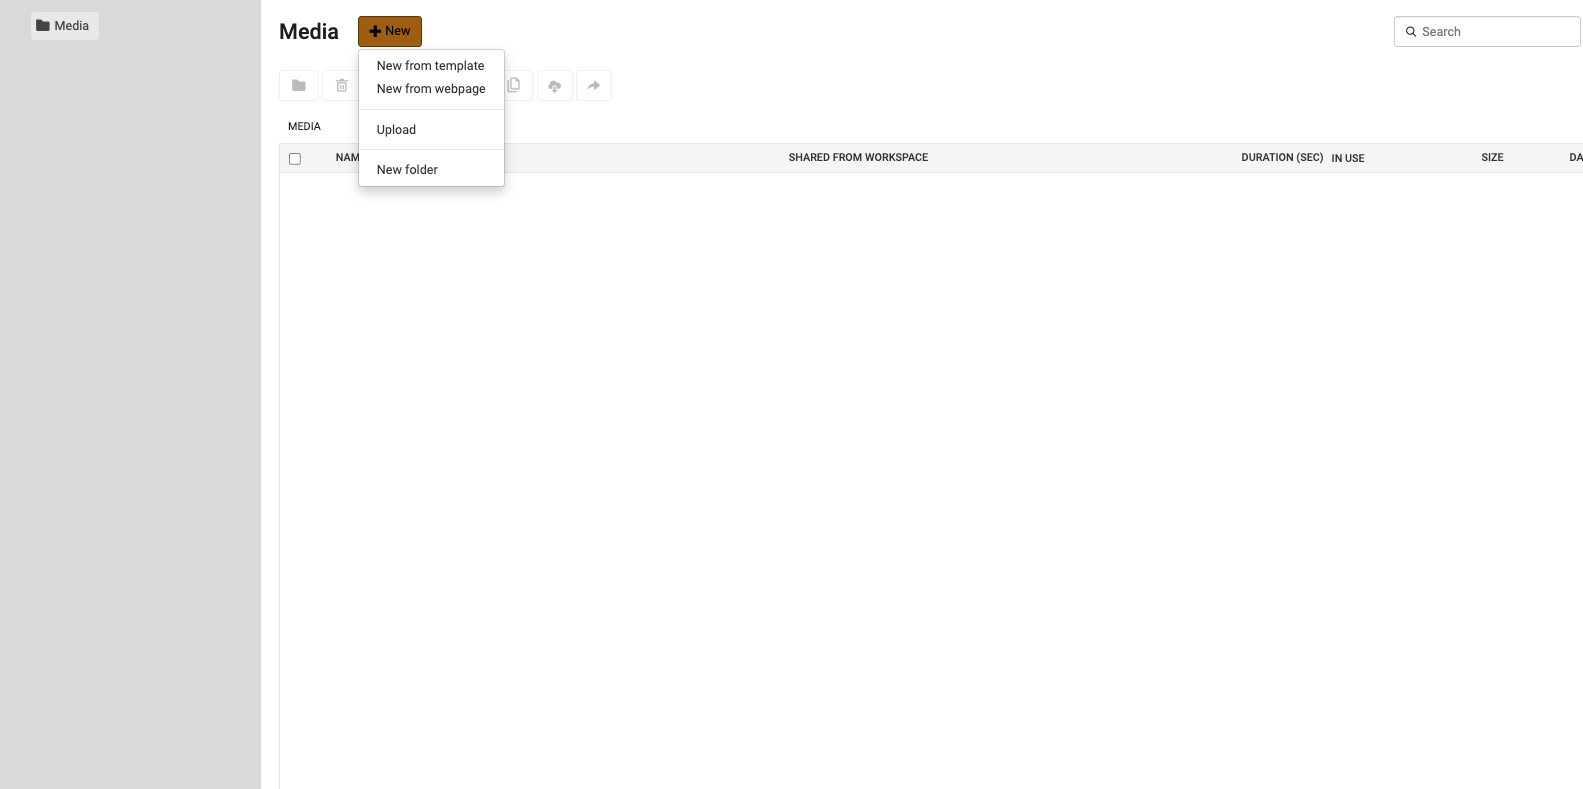
Library > Media:
Your images, videos, and templates will be in this section.
Click “+ New” to upload media or create media from a template or webpage. You can organize with folders.
Uploading Media:
Select “+”, “New upload”, then “Add files” or drag and drop. Click “Start upload”.
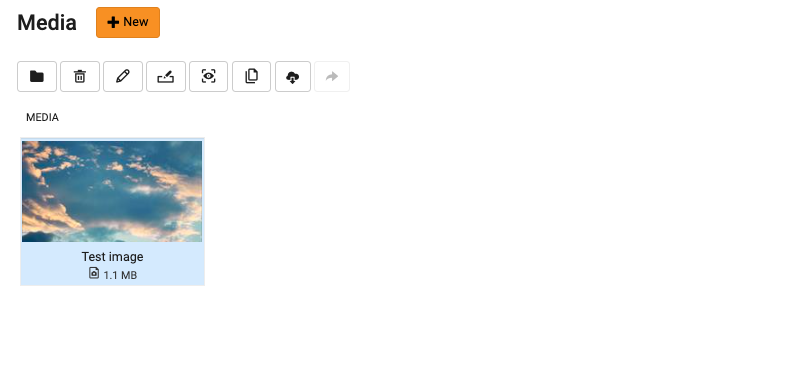
You can move the media into a folder, delete, edit, preview, copy, or download using the buttons here. Hover your mouse over the button to see what it does.
How to Create Media from Template:
Click “+ New” and select “New from template”. Select your desired template and you’ll be brought to this screen
Editing your template:
Name the media and make changes as needed. Click “Save” when you’re happy with the preview.
Template Tips
Upload any images or videos for your template before starting to work on the template
The preview is accurate. Make sure to remove any text that you don’t want displaying on your screens.
Hover your mouse over the preview and click  to refresh the preview if it doesn’t update automatically.
Never delete a template. Go into Media, find your template and edit it.
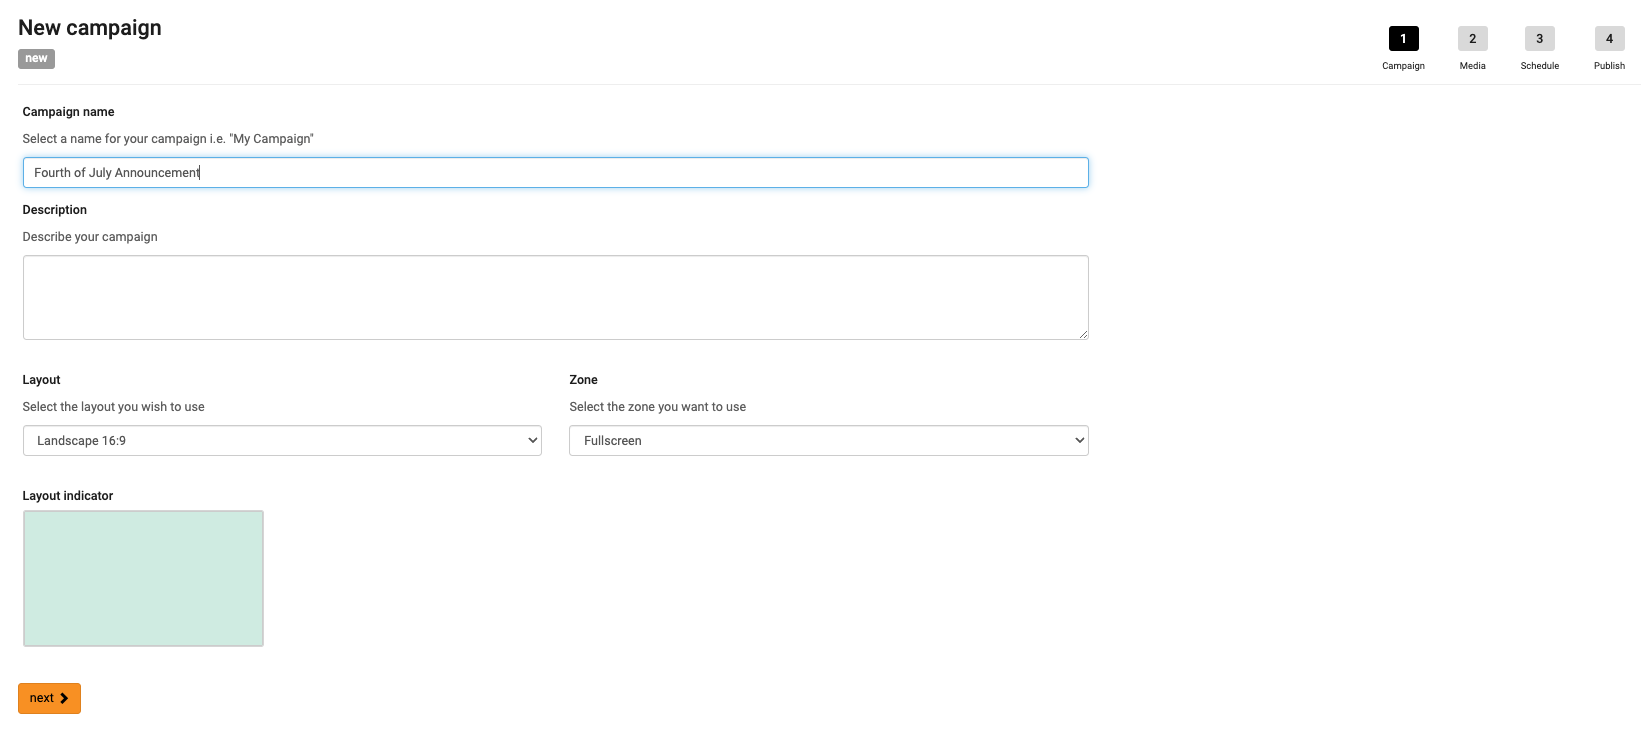
Creating a Campaign:
Navigate to the Campaign tab and select “+ New”. Name your campaign and adjust the layout and zone if necessary. Most clients won’t need to adjust these. Select “Next”
Find your media and drag it into the section on the right side. Select the #3 from the top to move to the schedule.
Set Start and End Date:
The campaign will play during the date range you set.
Create Segments:
If you only want the campaign playing during a certain time, you can create segments. Check the box next to use segments then select add to create your segment
Set your playlist mix-mode:
Shuffled - any existing campaign will shuffle with this one
Grouped - it will play all media in the campaign before going to the next campaign
Exclusive - any existing campaign will not play
On Demand - campaign will play when you use the on demand button on the remote

Select Groups:
Check each of the groups or screens you’d like to schedule the campaign to. Select “Next”.
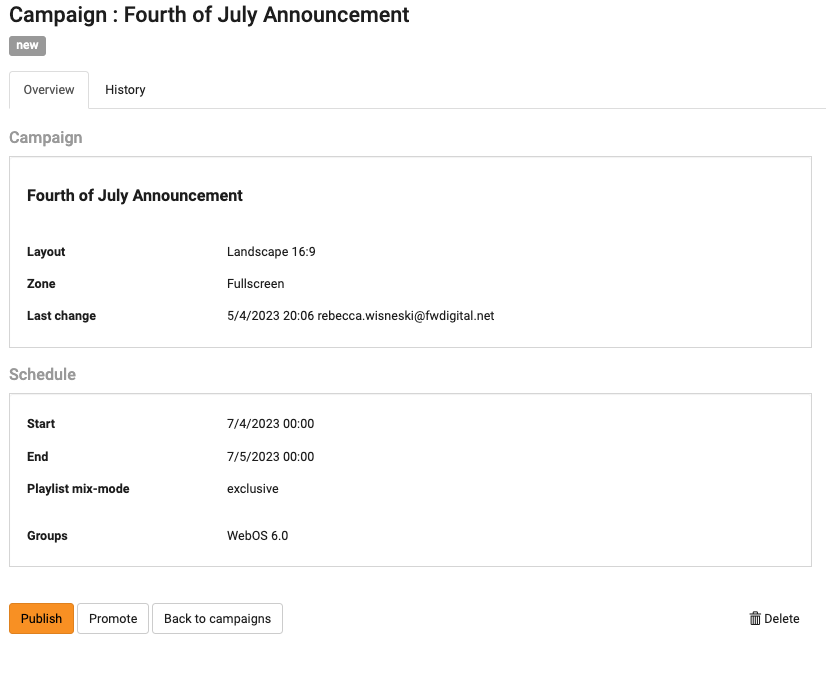
Select “Publish” on the final page
Viewing Playlist:
Navigate over to the left side toolbar and click “Playlists”. Find the channel you want to view and click on it.
You can change the date and time to see the playlist for a future date. The system uses military time.
Viewing Screenshots:
Navigate over to the left side toolbar and click “Network” then “Players”.
Select the screenshot button to see what's playing on the screen

If you have any questions or need further assistance, please contact Freshwater support at 616.419.2230 or support@fwdigital.net